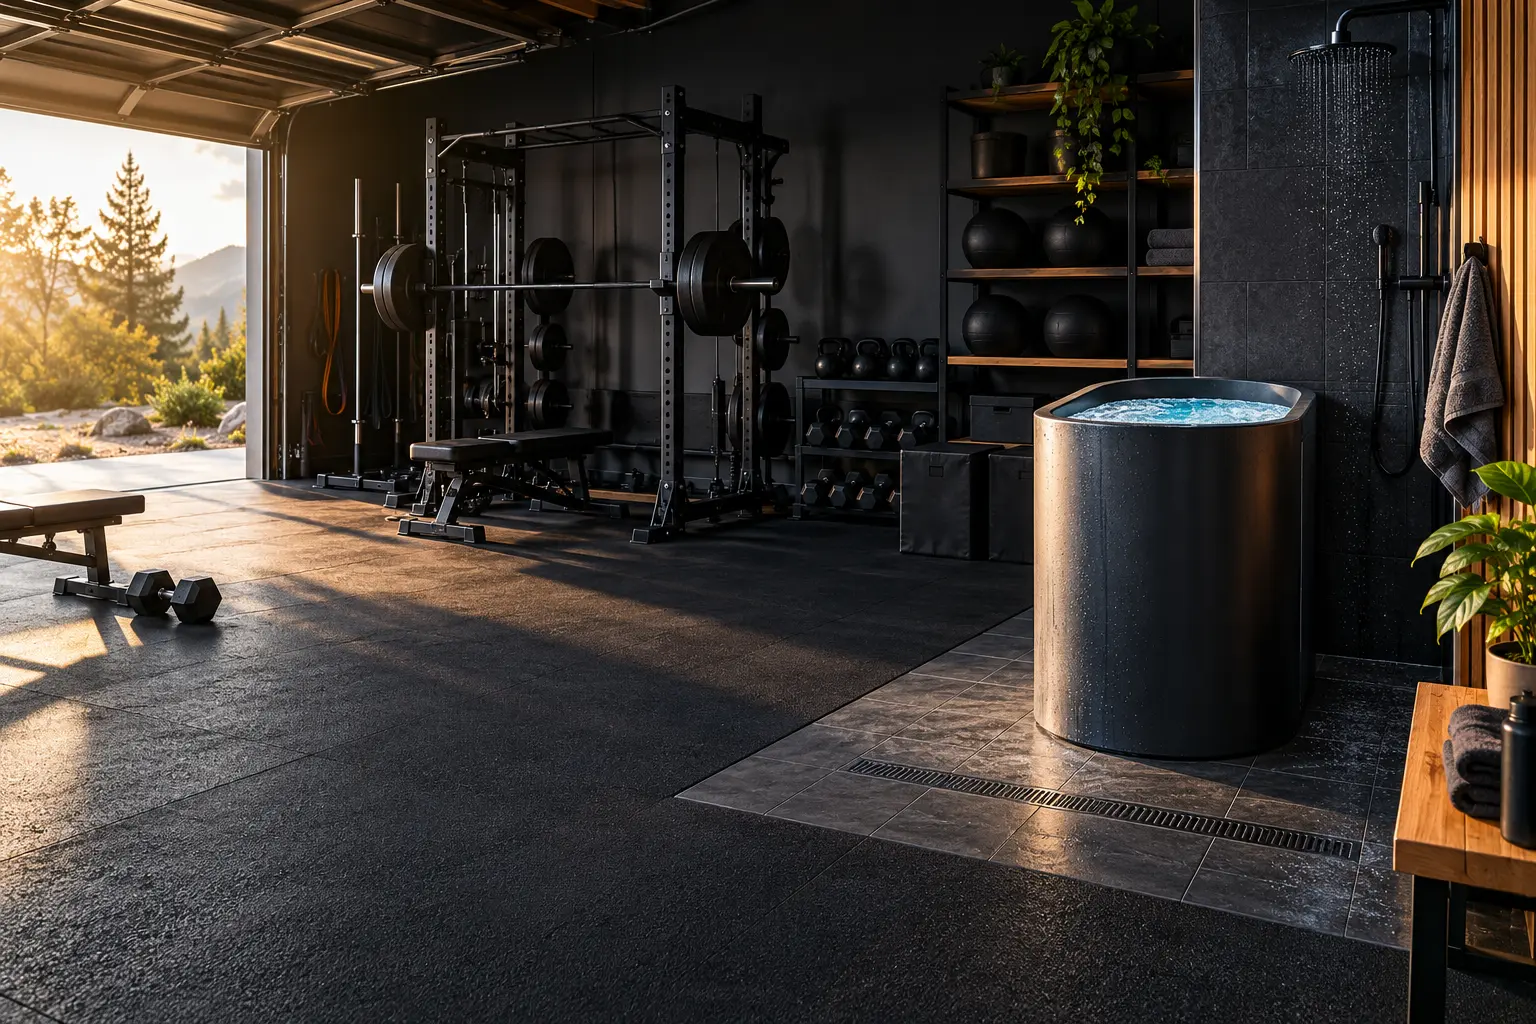
Plan in this order
Start filled, not empty
A 120-gallon tub contains about 1,001 pounds of water before the user and equipment.
Control the wet zone
Plan splashing, draining, cleaning, hose routing, and what happens during a leak.
Protect airflow
Keep the chiller’s intake and exhaust clear. Do not trap it behind storage or gym equipment.
The filled-load reality
+ 31.1 lb Plus tub + user + lid + step + connected equipment
That calculation tells you the total load—not whether a specific slab, platform, deck, or upper floor is safe. Load distribution and structure matter. Obtain professional guidance when the installation is not plainly ground-supported and suitable for wet equipment.
Build a dedicated wet zone
- Level surface that tolerates standing water.
- Non-slip mat extending through the exit path.
- Drain, pump-out route, or safe hose path.
- Space to remove the lid and enter safely.
- Waterproof storage for towels and test supplies.
- Separation from metal plates and electrical equipment.
Place the chiller deliberately
The equipment needs room to breathe and access for filters, hoses, drains, and reset controls. Keep hose runs short and protected from barbells, vehicles, sharp edges, and foot traffic. Do not assume a standard extension cord is acceptable; follow the manufacturer’s instructions for the exact unit.
Choose the tub shape for the room
A practical compact option
The Plunge Chill Plus lists a 35.4-inch diameter, 31.5-inch height, 31.1-pound empty weight, 120-gallon capacity, detachable step, insulated lid, and ½-inch inlet/outlet ports. That combination makes it easier to place than a long tub, but the filled system still needs serious planning.
Ten-minute room audit
- Measure the tub, lid swing, step, chiller, hoses, and service space.
- Mark the filled weight and intended footprint on your plan.
- Identify the drain route and where water goes during cleaning.
- Walk the entry and exit path with wet feet in mind.
- Locate the correct protected electrical supply.
- Check chiller intake, exhaust, and maintenance access.
- Plan winterization and temperature extremes.
- Keep weights, vehicles, and sharp equipment outside the wet zone.